Neon nail art is a bold and trendy way to express your personal style. The vibrant, fluorescent colors are eye-catching and add an element of fun to any outfit. However, achieving the perfect neon nail art look can be tricky without the proper technique. From preparing your nails for application to choosing complementary neon shades and adding accents, we’ll guide you through the process step-by-step. So, whether you’re new to neon nail art or a seasoned pro, keep reading for our expert tips and tricks.
Choosing the Right Neon Nail Art Supplies
When it comes to creating a stunning neon nail art look, choosing the right supplies is crucial. With a wide array of neon nail art supplies available in the market, such as neon nail polishes, neon nail powders, neon nail gels, and more, it’s essential to make informed decisions to ensure the best results. Here are some tips to help you select high-quality neon nail art supplies and where to purchase them.
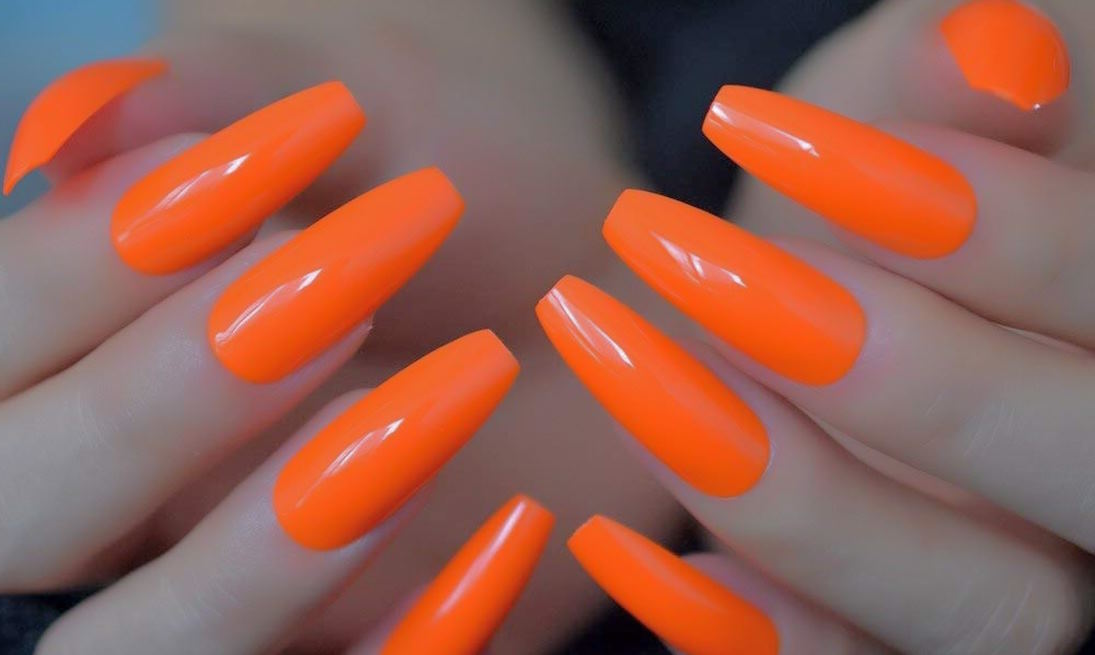
- Neon Nail Polishes: Neon nail polishes are a popular choice for creating neon nail art designs. Look for polishes that have a high pigment concentration and are specifically labeled as neon. Check for reviews or swatches to see if the polish delivers the desired level of brightness and opacity. Consider brands known for their high-quality nail polishes, and opt for those that offer a wide range of neon colors for versatility in your nail art creations.
- Neon Nail Powders: Neon nail powders are finely milled pigments that can be used to create neon nail art designs by mixing them with a clear nail polish or a gel base. Look for powders that are highly pigmented, finely milled, and specifically labeled as neon. Ensure that the powder is safe for use on nails and complies with health and safety regulations.
- Neon Nail Gels: Neon nail gels are a popular choice for nail art enthusiasts who prefer using gels for their long-lasting wear and durability. Look for gels that are specifically formulated as neon and are known for their high-quality and easy application. Check for reviews or recommendations from trusted sources to ensure that the gel is reliable and delivers the desired neon effect.
Tips for Selecting High-Quality Neon Nail Art Supplies:
- Look for reputable brands that are known for their quality and safety standards.
- Check for reviews or recommendations from fellow nail art enthusiasts or professionals.
- Look for products that are specifically labeled as neon, indicating that they are formulated to deliver vibrant and bright colors.
- Check the ingredients list to ensure that the products are safe and comply with health and safety regulations.
- Consider the opacity and pigmentation of the product to ensure that it delivers the desired neon effect.
Where to Purchase Neon Nail Art Supplies:
- Beauty supply stores: Many beauty supply stores carry a wide range of neon nail art supplies, including neon nail polishes, powders, and gels. Check your local beauty supply store or search online for reputable beauty supply stores that offer neon nail art supplies.
- Online retailers: There are numerous online retailers that specialize in nail art supplies and offer a wide range of neon nail art products. Look for reputable online retailers with positive reviews and a wide selection of neon nail art supplies.
- Nail art specialty stores: Some specialty stores or boutiques may offer a curated selection of high-quality neon nail art supplies. Look for stores that specialize in nail art and inquire about their neon nail art product offerings.
Preparing Your Nails for Neon Nail Art
Achieving a long-lasting and flawless neon nail art look starts with proper nail preparation. Properly prepped nails ensure that the neon colors pop and adhere well, resulting in a stunning and durable manicure. Here’s a step-by-step guide on how to prepare your nails for neon nail art and some nail care tips to maintain healthy nails before applying neon nail art.
- Clean Your Nails: The first step in preparing your nails for neon nail art is to ensure they are clean and free from any dirt, oils, or old nail polish. Use a gentle nail polish remover to clean your nails and ensure they are completely bare before proceeding to the next step.
- Trim and Shape Your Nails: Next, trim your nails to your desired length and shape. Use sharp and clean nail clippers to trim your nails straight across or in the desired shape, such as square, round, or oval. File the edges to smooth out any roughness and shape the nails to your liking. Be cautious not to file your nails too aggressively, as it can weaken the nails.
- Push Back Cuticles: Gently push back your cuticles using a cuticle pusher or an orange stick. Avoid cutting your cuticles, as they serve as a protective barrier for your nails. Pushing them back gently helps create a clean canvas for the neon nail art to adhere to and ensures a professional-looking manicure.
- Buff Your Nails: Use a nail buffer to gently buff the surface of your nails. This helps remove any ridges or imperfections on the nail surface and creates a smooth base for the neon nail art. Avoid excessive buffing, as it can thin out the nails and make them more prone to breakage.
- Moisturize Your Nails and Cuticles: Apply a nourishing cuticle oil or a moisturizing nail and cuticle cream to keep your nails and cuticles hydrated and healthy. This helps prevent dryness, peeling, and brittleness, ensuring that your nails are in the best possible condition for applying neon nail art.
Nail Care Tips: To maintain healthy nails before applying neon nail art, consider the following tips:
- Avoid using your nails as tools to open packages or perform other tasks that can cause breakage.
- Wear gloves when doing household chores or working with harsh chemicals to protect your nails from damage.
- Moisturize your nails and cuticles regularly to keep them hydrated and prevent dryness.
- Avoid biting your nails or picking at your cuticles, as it can weaken the nails and cause damage.
- Keep your nails trimmed and shaped to prevent snagging and breakage.
Creating Neon Nail Art Designs
Neon nail art is a fun and bold way to express your creativity and make a statement with your manicure. With a wide range of neon nail art supplies available, such as neon nail polishes, neon nail powders, and neon nail gels, you can create a variety of eye-catching designs. Here’s a step-by-step guide on how to create different neon nail art designs and some tips and techniques for using neon nail art supplies effectively.
- Neon Ombre: Start with a white base coat and let it dry completely. Then, choose two or more neon nail polishes in complementary colors. Apply the first neon color to the base of your nails and blend it towards the tips using a makeup sponge. Repeat with the other neon colors, creating a gradient effect. Finish with a clear top coat to seal the design.
- Neon French Tips: Apply a clear base coat and let it dry. Choose a neon nail polish color and carefully paint the tips of your nails in a French manicure style. You can use a nail art brush or nail striping tape for precise lines. Finish with a clear top coat to protect the design.
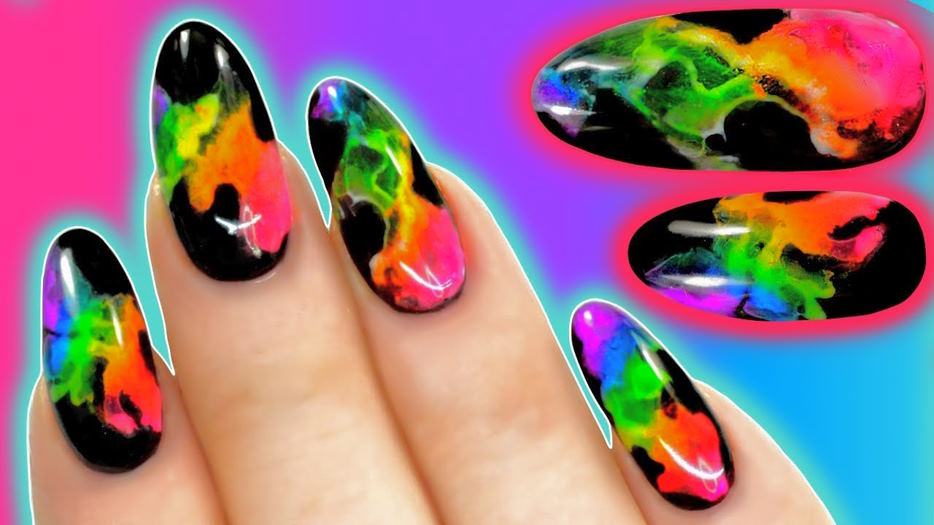
- Neon Marble: Apply a white base coat and let it dry. Dab a few drops of different neon nail polishes onto your nails. Use a thin brush or a toothpick to swirl the colors together, creating a marbled effect. Finish with a clear top coat to seal the design.
- Tips and Techniques: When using neon nail art supplies, it’s essential to apply thin and even coats to avoid streaking or clumping. Allow each layer to dry completely before applying the next. For neon nail powders or gels, follow the manufacturer’s instructions for the best application technique and curing time. To make the neon colors pop, you can also apply a white base coat before applying the neon polish or powder.
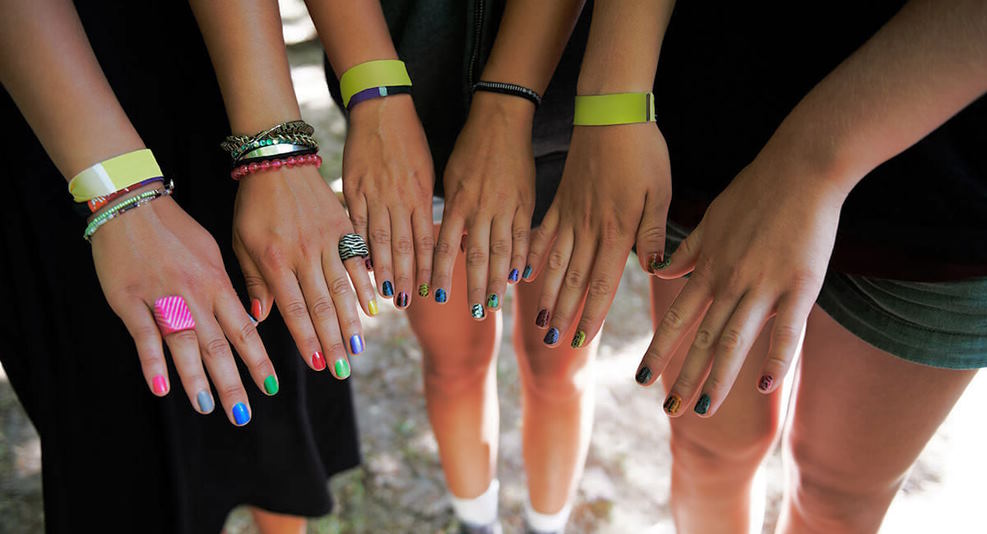
- Creative Ideas: Experiment with different color combinations to create unique neon nail art looks. You can create geometric patterns, floral designs, or abstract designs using neon colors. Try mixing and matching neon colors to create a vibrant and eye-catching manicure that reflects your personality and style.
With these step-by-step instructions, tips, and techniques, you can create stunning neon nail art designs that are sure to grab attention. Let your creativity shine and have fun experimenting with different neon colors and designs to create your own unique nail art masterpieces!